

Copy your setup link from the dashboard, install the LiveSync plugin, paste the link — done. Follow each section in order.
1. Get your setup link
In the EiraSync dashboard
Sign in and create a vault. The setup dialog opens automatically — copy the setup link and Setup URI passphrase. EiraSync generates two separate passphrases: the Setup URI passphrase (shown in the dashboard) and an E2EE passphrase for your vault contents (embedded in the encrypted setup link). You only enter the Setup URI passphrase in Obsidian.2. Install the LiveSync plugin
Install Self-hosted LiveSync — the official Obsidian community plugin (by vrtmrz).Install & enable in Obsidian
- Settings → Community plugins → Browse → search “LiveSync”.
- Install “Self-hosted LiveSync” and click “Enable” — plugin page. Same steps on your phone.
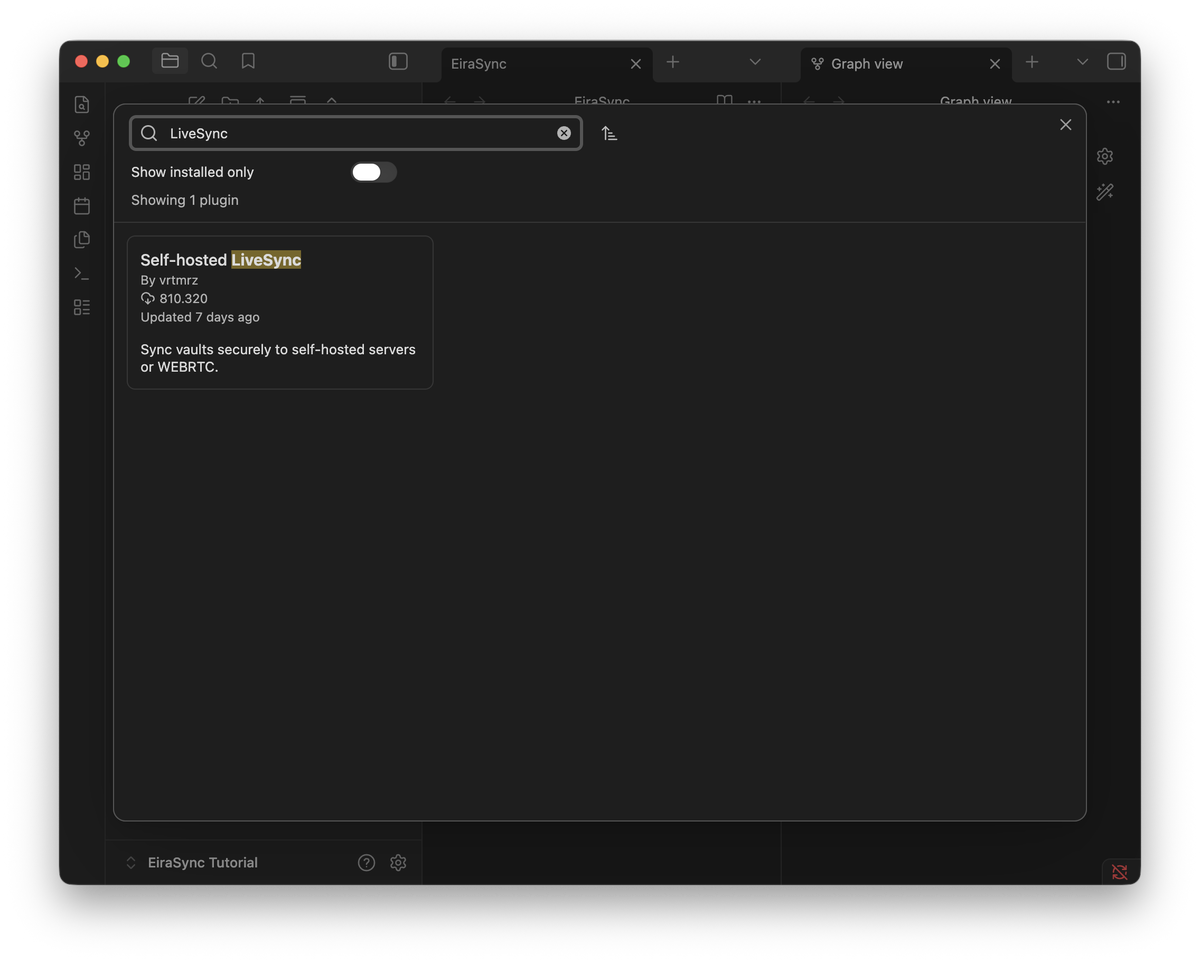
Desktop — author: vrtmrz
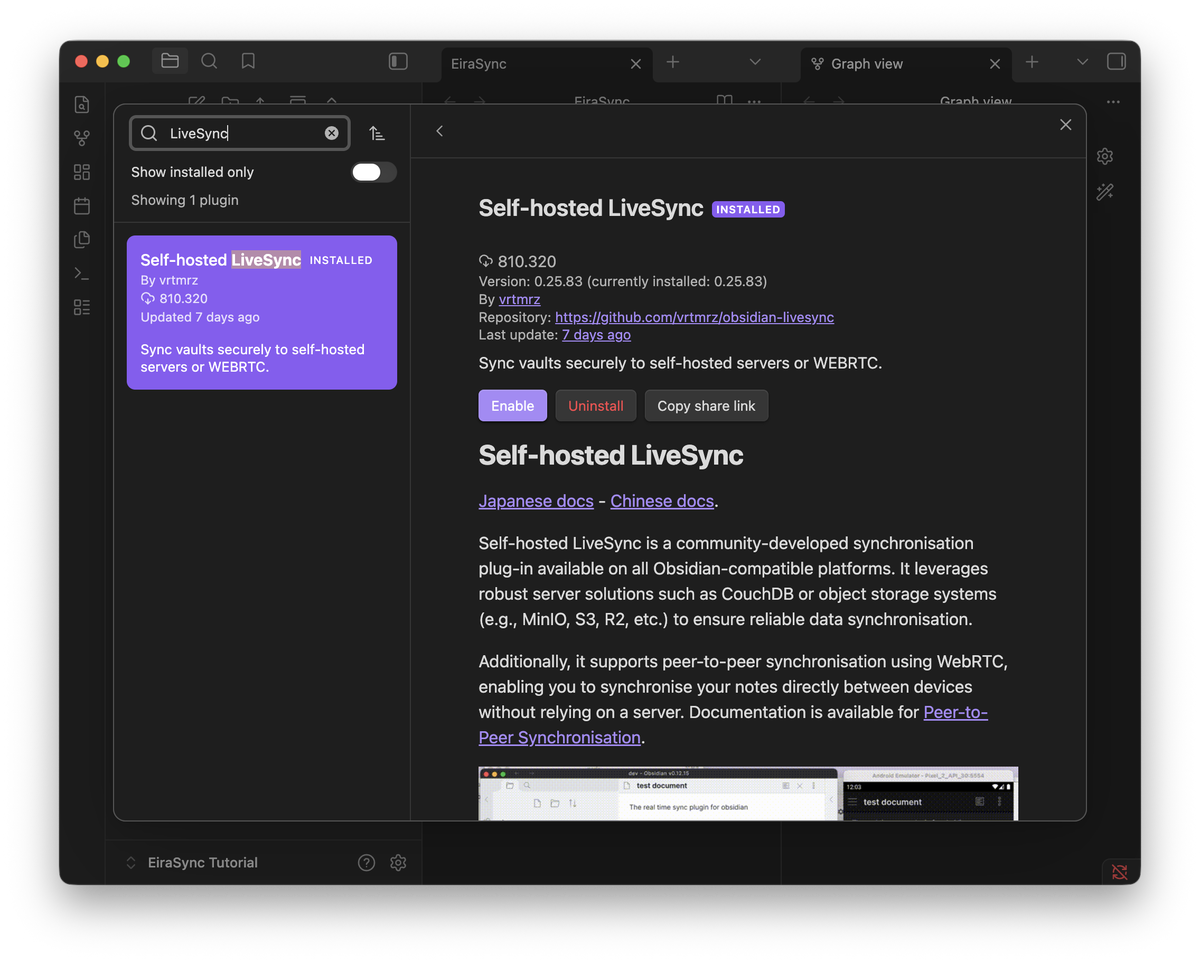
Desktop — click "Enable"
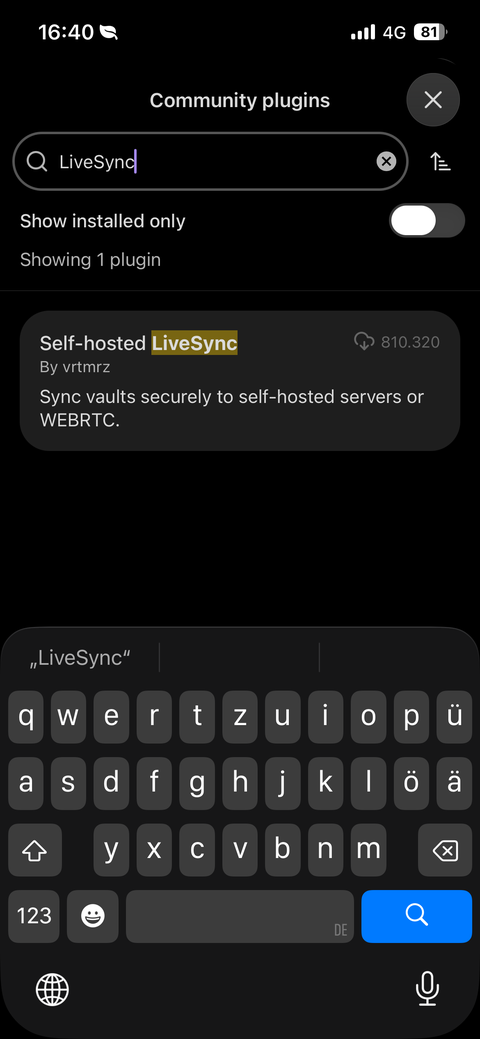
Phone — same flow
3. Set up your first device
Follow the wizard
- Choose “I am setting this up for the first time”.
- Keep “Use a Setup URI” as the connection method and continue.
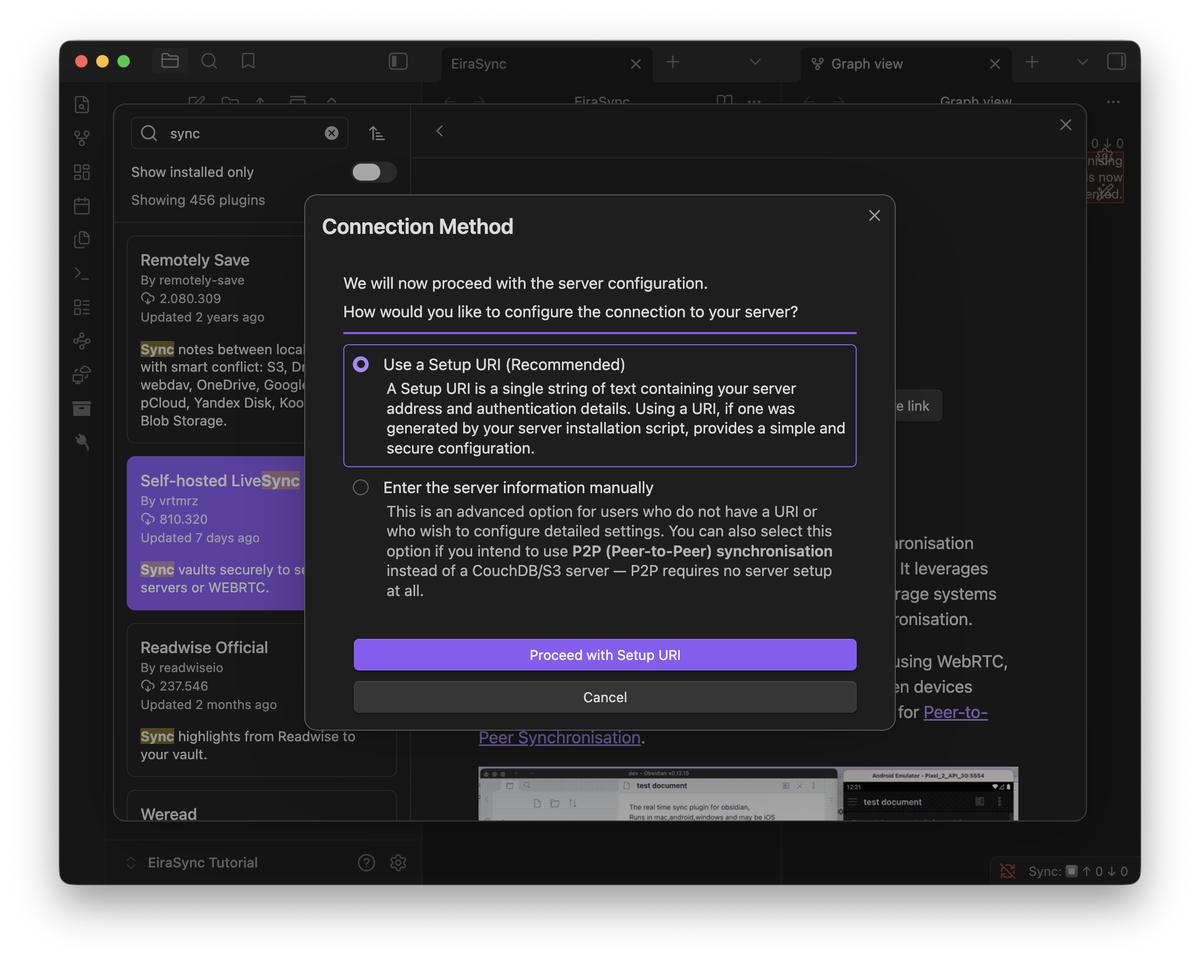
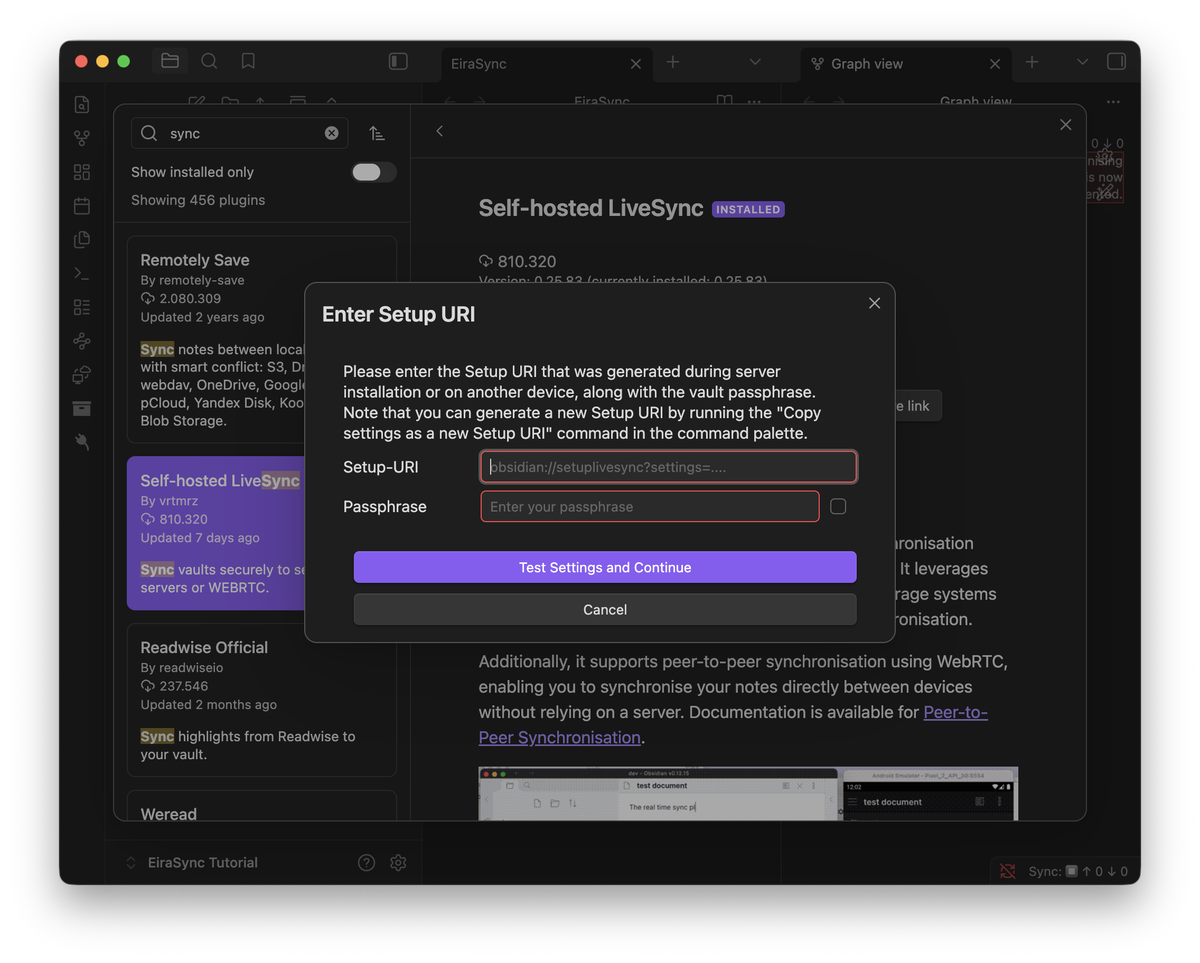
Paste link and passphrase
- Paste setup link and Setup URI passphrase from EiraSync → “Test Settings and Continue”.
- When asked about uploading: “Yes” — your notes go to the cloud.
4. Add another device
Same setup link as device 1 — do not generate a new one in the dashboard. See Add Device for details.Second computer
- Install LiveSync, choose “adding a device to an existing setup” in the wizard.
- Paste the same setup link and Setup URI passphrase. When asked about uploading: “No”.
Phone via QR code
- Self-hosted LiveSync install, choose “adding a device to an existing setup”, then “Scan a QR Code”.
- On your first device: Settings → Self-hosted LiveSync → “Setup” tab → “Show QR code” → “For your eyes only”.
- Scan the QR code with your phone, enter the Setup URI passphrase.
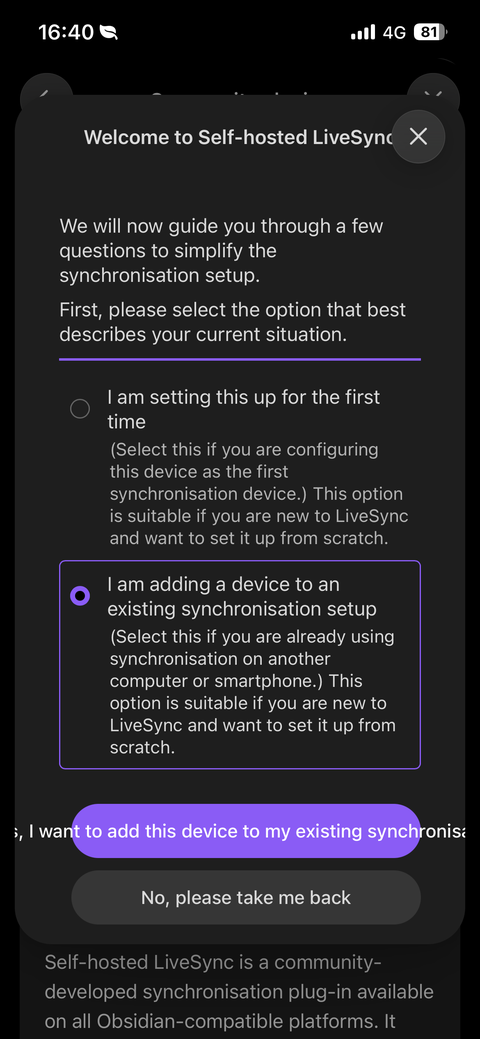
Phone — choose "adding a device"
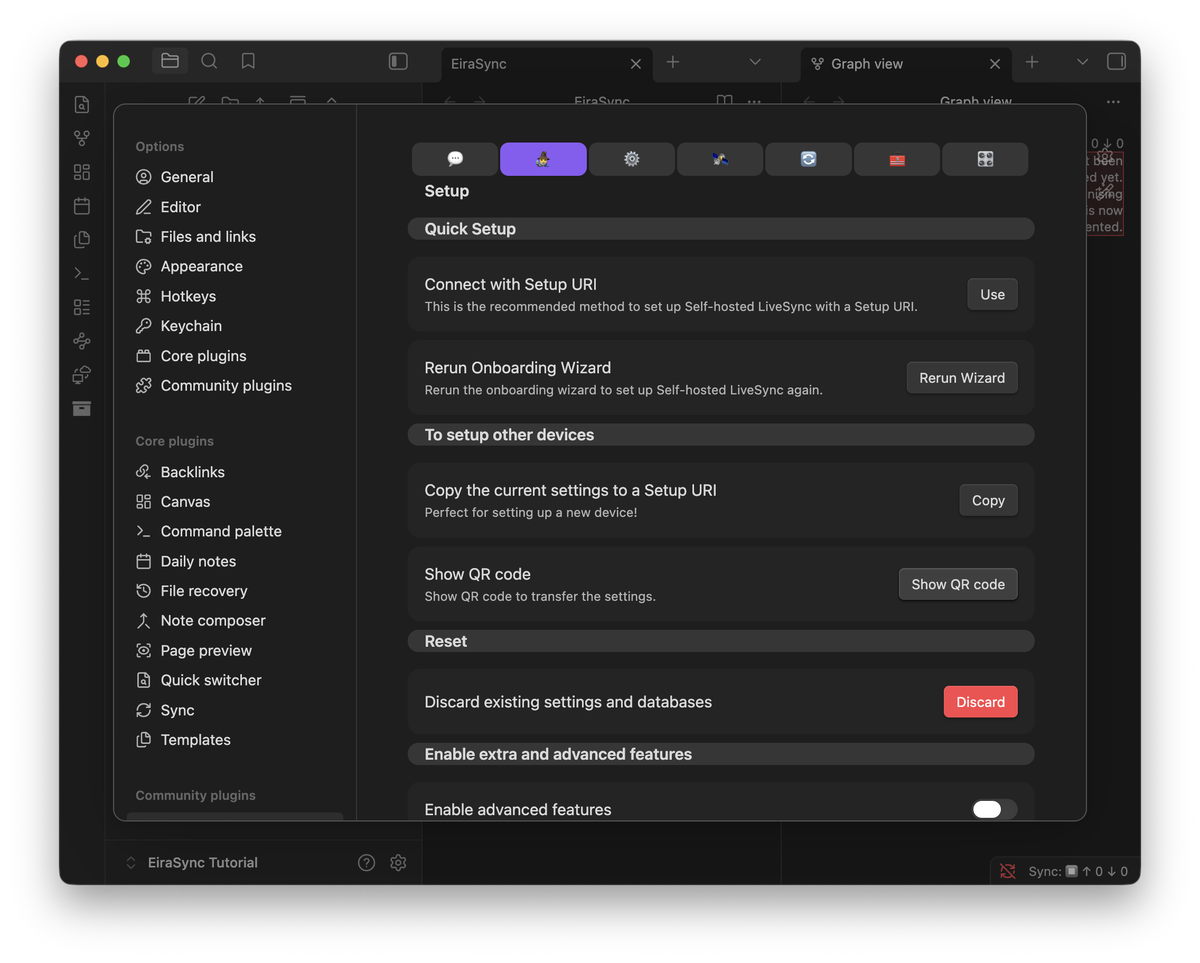
Computer — "Setup" tab → "Show QR code"
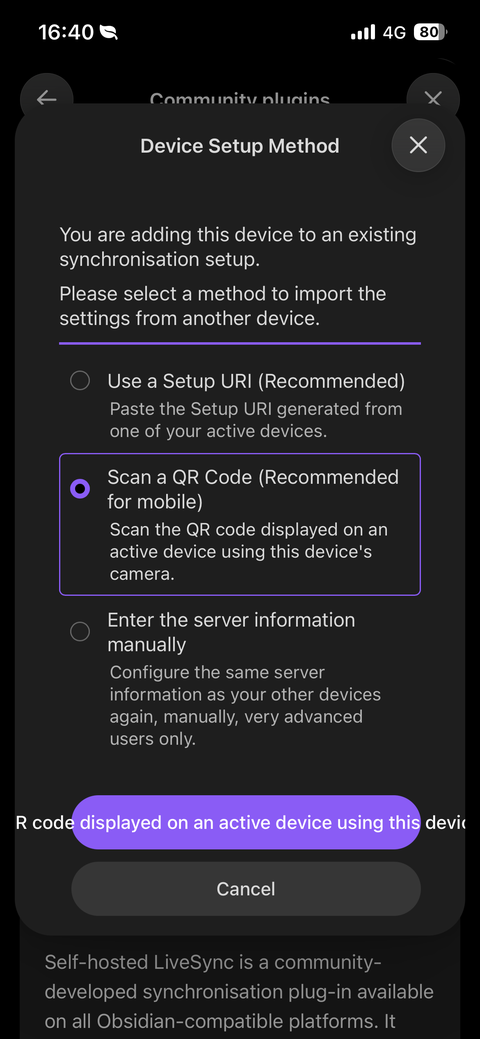
Phone — choose "Scan a QR Code"
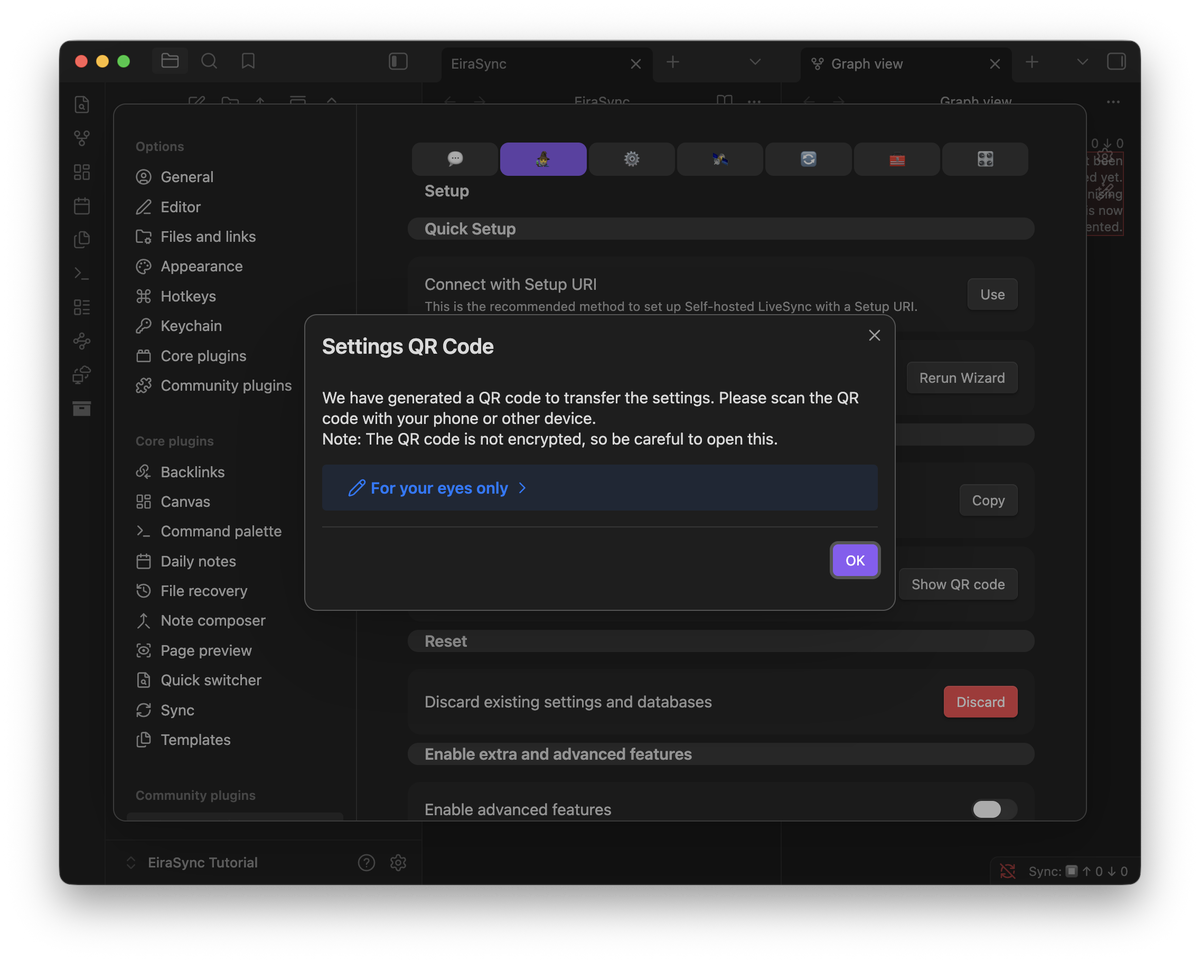
Computer — tap "For your eyes only"